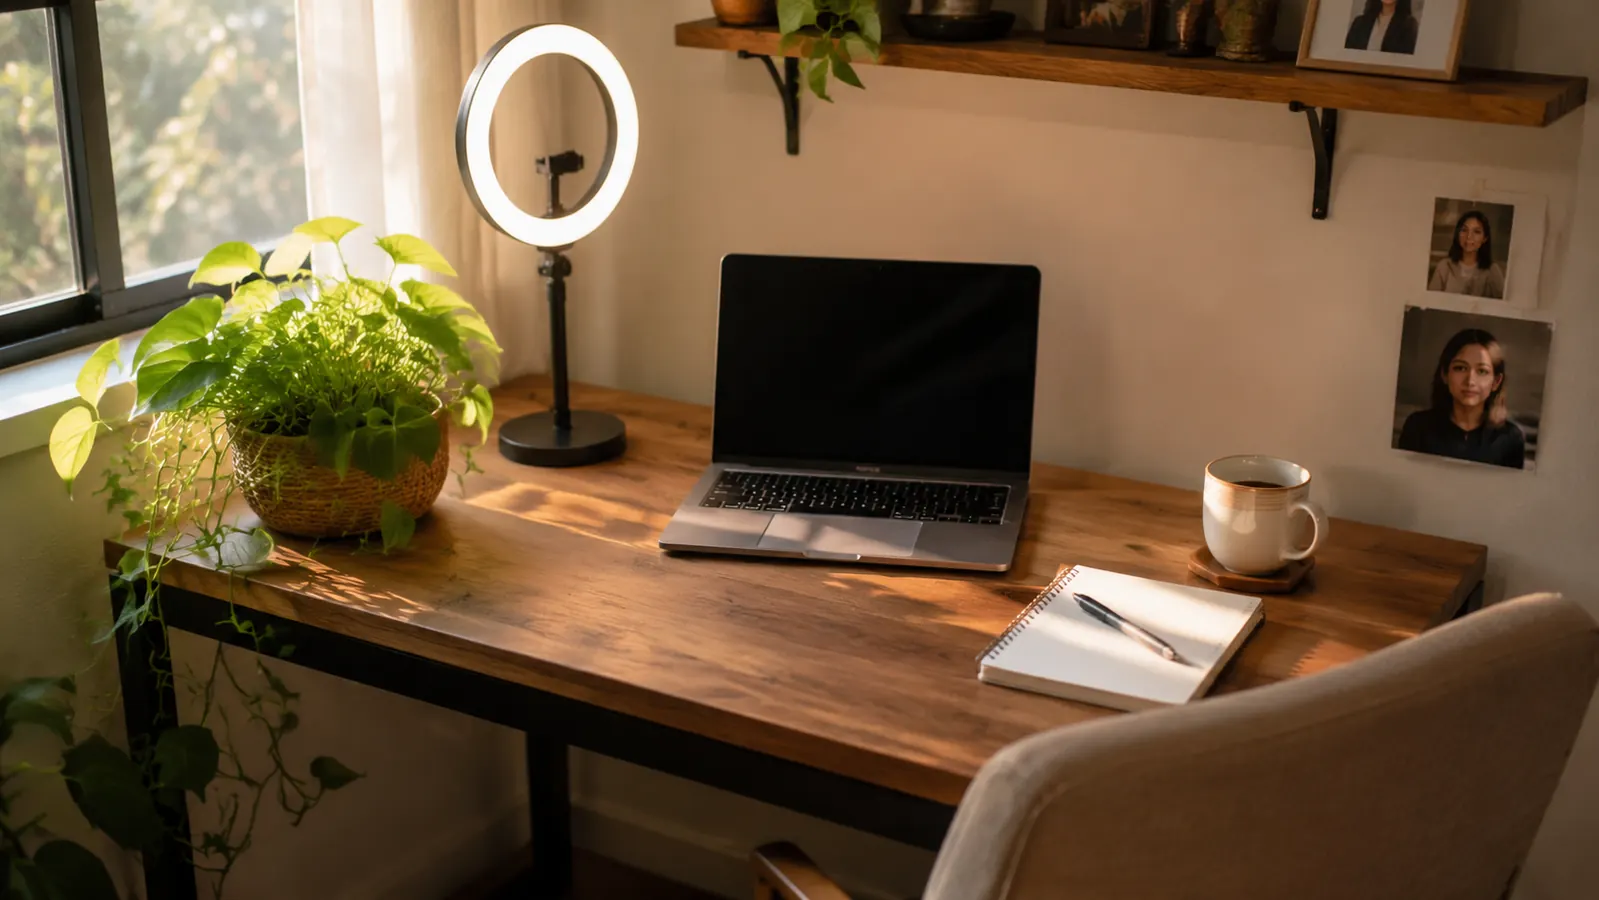
There's a particular kind of tired that comes from watching yourself on a video call and not recognizing the shadows under your own eyes. I noticed it first during a parent-teacher video conference I hosted from my kitchen table, lit only by the overhead fixture and whatever daylight happened to be coming through the window that afternoon. I looked exhausted. I wasn't. My lighting was just working against me, and I didn't know it until I saw myself on screen next to everyone else's clear, evenly lit little box, wondering why my corner of the grid looked like it had its own weather system.
The fix turned out to be small and inexpensive: a UBeesize 12 inch ring light with a desk clamp and an overhead phone mount, the kind that sits right behind your camera and wraps soft, even light across your face instead of dumping it straight down from the ceiling. You don't need a studio, a second monitor, or any technical skill to use one well. You do need to set it up correctly, because a ring light aimed wrong can actually make things worse. Here's exactly how to position it, step by step, so every call looks like the calm, capable version of you.
See the light that fixed my washed-out video calls
The UBeesize 12 inch ring light clamps onto almost any desk edge and comes with brightness and color settings you can dial in for morning, afternoon, or evening calls. It's the exact model used in every step below.
Amazon Check Today's Price on Amazon →Step 1: Figure Out Exactly What's Working Against You
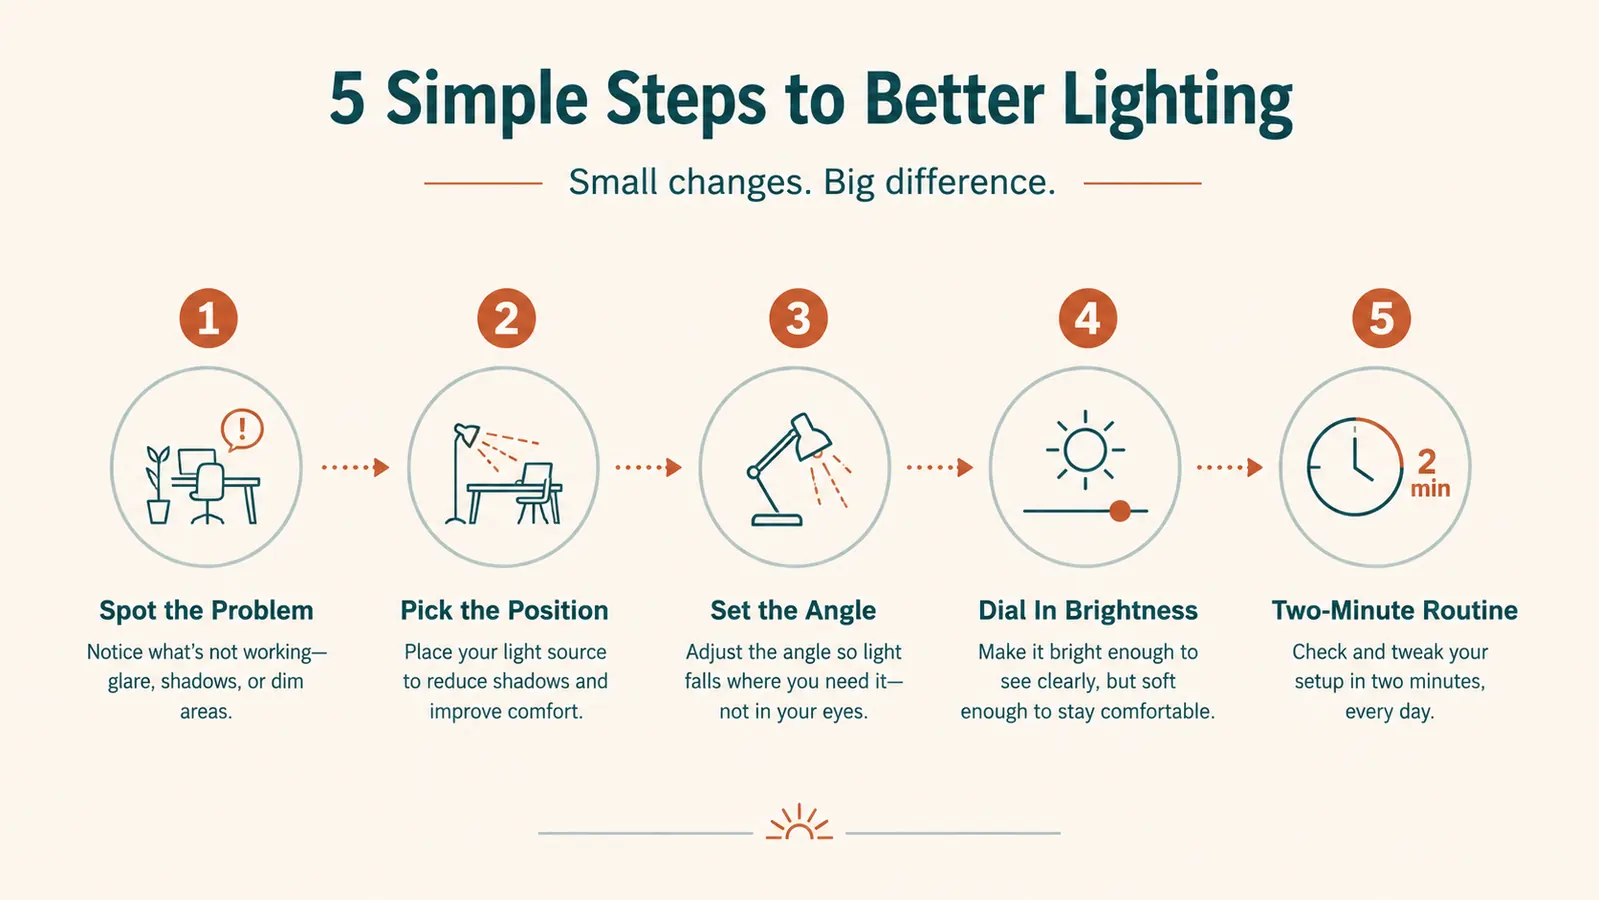
Before you clamp anything to your desk, spend one call actually watching your own video feed instead of ignoring it. Most people avoid looking at themselves on camera, but this is the moment to do it on purpose. Ask yourself three things: Is the light coming from above you, casting a shadow under your eyes and nose? Is there a bright window behind you, tricking the camera into treating your face like a silhouette? Or is the room just dim overall, making the whole picture look grainy and gray?
These are three different problems, and they call for slightly different fixes, though a ring light solves all three at once because it sits at eye level and adds its own consistent light source regardless of what the room is doing. In my case it was a combination of overhead shadow and a window that went from helpful in the morning to a glowing backdrop by three in the afternoon. Knowing that ahead of time meant I wasn't guessing where to put the light later, I already understood what problem I was solving for.
If you share a desk with a family member or work from more than one room in the house, do this quick check in each spot. The lighting problem in a home office with a north-facing window is not the same as the one at a kitchen table under a bright overhead fixture, and the way you'll angle the ring light later depends on which one you're actually dealing with.
Step 2: Pick a Spot That Puts the Light Between You and the Camera
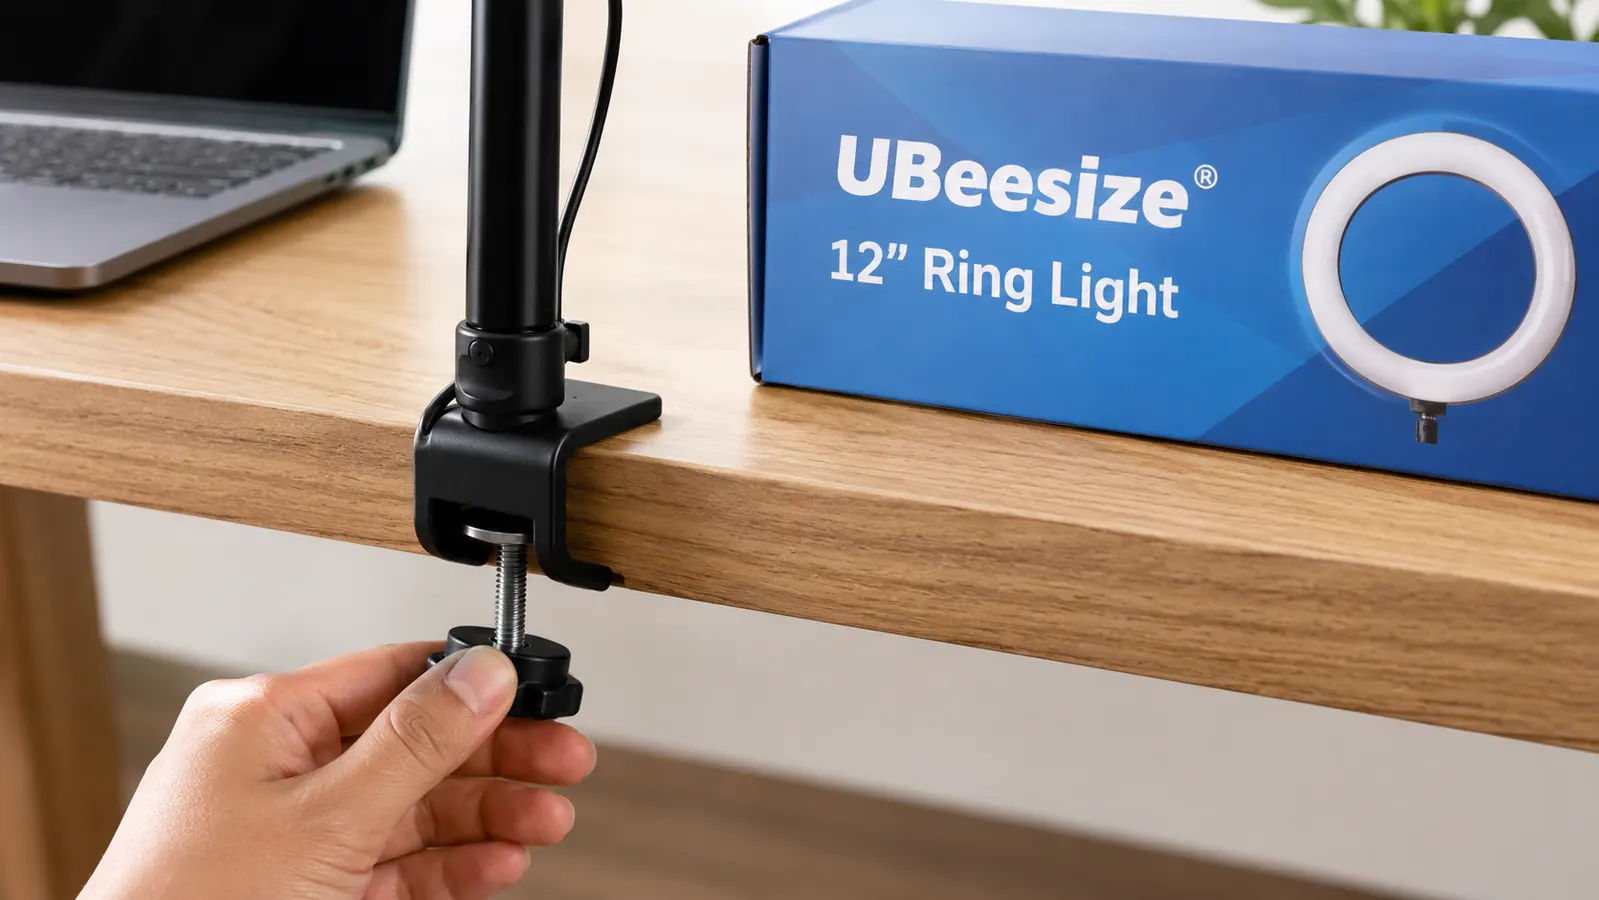
The single most important rule for a ring light is that it needs to sit as close to your camera as possible, ideally with your laptop's webcam poking through or right beside the center of the ring. This is why the phone mount arm in the middle of the UBeesize ring light matters even if you're not using it for your phone, that center opening is exactly where your laptop's camera should line up, or as close to it as your desk setup allows.
Clamp the ring light onto the edge of your desk directly behind or beside your laptop screen, not off to one side of the room and not several feet back. The closer the light sits to your camera's line of sight, the more evenly it lights your whole face rather than lighting one side more than the other. I clamp mine to the same edge of the desk where my laptop sits, angled in just enough that the center of the ring roughly matches where the webcam lens is.
If your desk edge is too thick for the included clamp, or your desk doesn't have an edge to clamp onto at all, the ring light also comes with a small tripod stand. It takes up more room, but it lets you place the light exactly where you need it on any flat surface, including a kitchen table or a shared desk that isn't really built for hardware. Either way, the goal is the same: get the light as close to your camera's eye line as your setup allows.
Step 3: Set the Height and Angle Before You Ever Turn It On
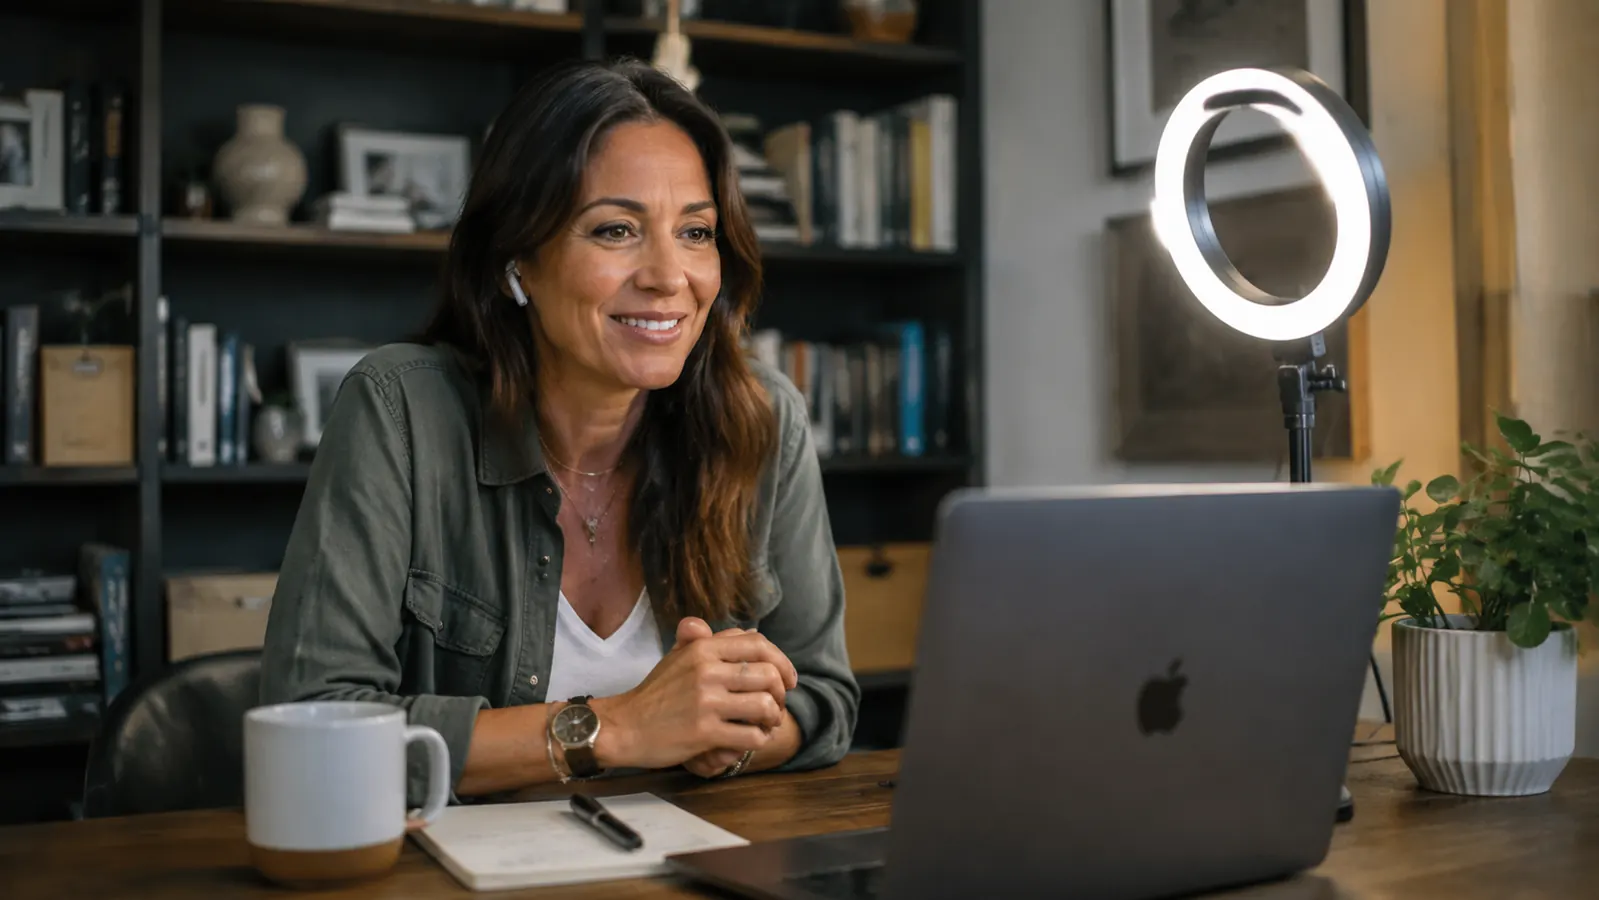
Once the ring light is clamped or standing where you want it, adjust the height so the center of the ring sits roughly level with your eyes when you're sitting in your normal chair position. Too low and it lights up your chin and the underside of your nose. Too high and you're back to the same shadow-under-the-eyes problem the light was supposed to fix. Sit exactly the way you would during a real call, then adjust the arm until the ring feels like it's looking back at you at eye level.
Angle matters almost as much as height. Tilt the ring very slightly downward, just a few degrees, rather than pointing it dead level at your face. At full brightness this light is genuinely strong, closer to a camera flash than a desk lamp if you stare directly into it, so a slight downward tilt keeps it flattering instead of blinding. You'll know it's right when you can look at your own screen comfortably without squinting, and your face looks lit rather than lit up.
Take a moment here to check your background too, since the light will make everything in frame more visible, including whatever's behind you. A tidy patch of wall, a bookshelf, or a plant reads as intentional. A pile of laundry on a chair reads as an accident, and a bright ring light has a way of making sure everyone notices it either way, so it's worth a thirty second glance behind you before your very first call with it turned on.
Step 4: Dial In Brightness and Color for the Time of Day You Actually Call
The UBeesize ring light has an inline remote near the base of the cord that controls both brightness and color temperature, and this is the step people skip because it feels fussy. It isn't. Spending thirty seconds here is the difference between looking naturally lit and looking like you're sitting in front of a spotlight. Start with color temperature: the coolest setting reads slightly blue on camera and can wash out warmer skin tones, the warmest setting is cozier but can look a little orange under certain webcams, and the middle setting is the safest starting point for most people and most rooms.
Brightness should match the room, not a fixed habit. On a bright morning with decent daylight already coming in, a lower setting, somewhere around a third of the way up, is usually plenty. On a dim afternoon or an evening call after the sun's gone down, you'll want to push it higher, closer to two-thirds or more, so the light is doing most of the work instead of fighting a dark room. There's no single correct number here, only the number that stops your face from looking flat or gray on your own screen.
Do this test once, at roughly the time of day you're usually on calls, and take a mental note of where the dial landed. You won't need to relearn it every time, just adjust slightly if you notice the room getting darker or brighter than usual, like on a cloudy day or during shorter winter afternoons. Once you've found your two or three go-to combinations, morning, afternoon, and evening, dialing them back in becomes a five second habit rather than a decision.
Step 5: Build a Two-Minute Routine So It Becomes Automatic
The setup above takes about fifteen minutes the first time, mostly spent finding the right clamp position and height. After that, the goal is to make using it feel automatic rather than like a chore you have to remember. I turn my ring light on the same way I'd turn on a desk lamp, as part of sitting down at my desk, not as a separate step reserved for calls I think matter more than others.
If you only need it for scheduled meetings, build the habit of flipping it on a minute before the call starts rather than the second you join, so you have time to glance at your own feed and adjust anything that's off. That one extra minute is usually enough to notice if the clamp shifted overnight or if a bright afternoon sun is suddenly competing with your settings from that morning.
Give yourself about a week of noticing the difference before you stop thinking about it at all. The first few times, you might catch yourself checking your own video feed a little more than usual, partly out of curiosity and partly because it's genuinely nice to see a calm, well-lit version of yourself instead of the shadowy one you'd gotten used to. After that, it just becomes part of how your desk works, the same way a lamp or a coaster is just part of the desk.
What Else Helps
A few small things made this setup even smoother without adding more to my desk. I keep the remote clipped near my keyboard rather than tucked behind the monitor, since it resets to a default setting anytime it gets unplugged, and it's a lot less annoying to adjust a nearby dial than to dig for a cord. I also wipe down the ring itself about once a month, since dust and desk clutter settle on a horizontal surface like that more than you'd expect.
If your desk doubles as a dinner table or a homework spot in the evenings, the clamp comes off in seconds, so there's no need to leave it up all the time if it's in the way. And if you record video for anything besides calls, a training clip, a quick update for a coworker, a recorded lesson, the same setup and settings you dialed in for live calls will work just as well, so you're not starting from scratch every time the use case changes.
Good lighting also has a way of making everything else about your setup feel more finished. Once your face reads clearly on camera, small things start to matter that you might not have noticed before, sitting a little further back so you're not looming over the frame, keeping your laptop propped up so the camera angle is level instead of pointing up your chin, and a quiet moment before you join to make sure your posture matches how put-together the lighting now makes you look. None of it requires new gear, just a habit of checking your own preview window with the same light you'll actually be using.
Nobody ever compliments a webcam. People notice when you stop looking tired, and that's almost always the light, not the camera.
Set yours up before your next call
The UBeesize ring light takes about fifteen minutes to position the way this guide describes, and it keeps working every time you sit down at your desk after that. See today's price and current availability on Amazon.
Amazon Check Today's Price on Amazon →