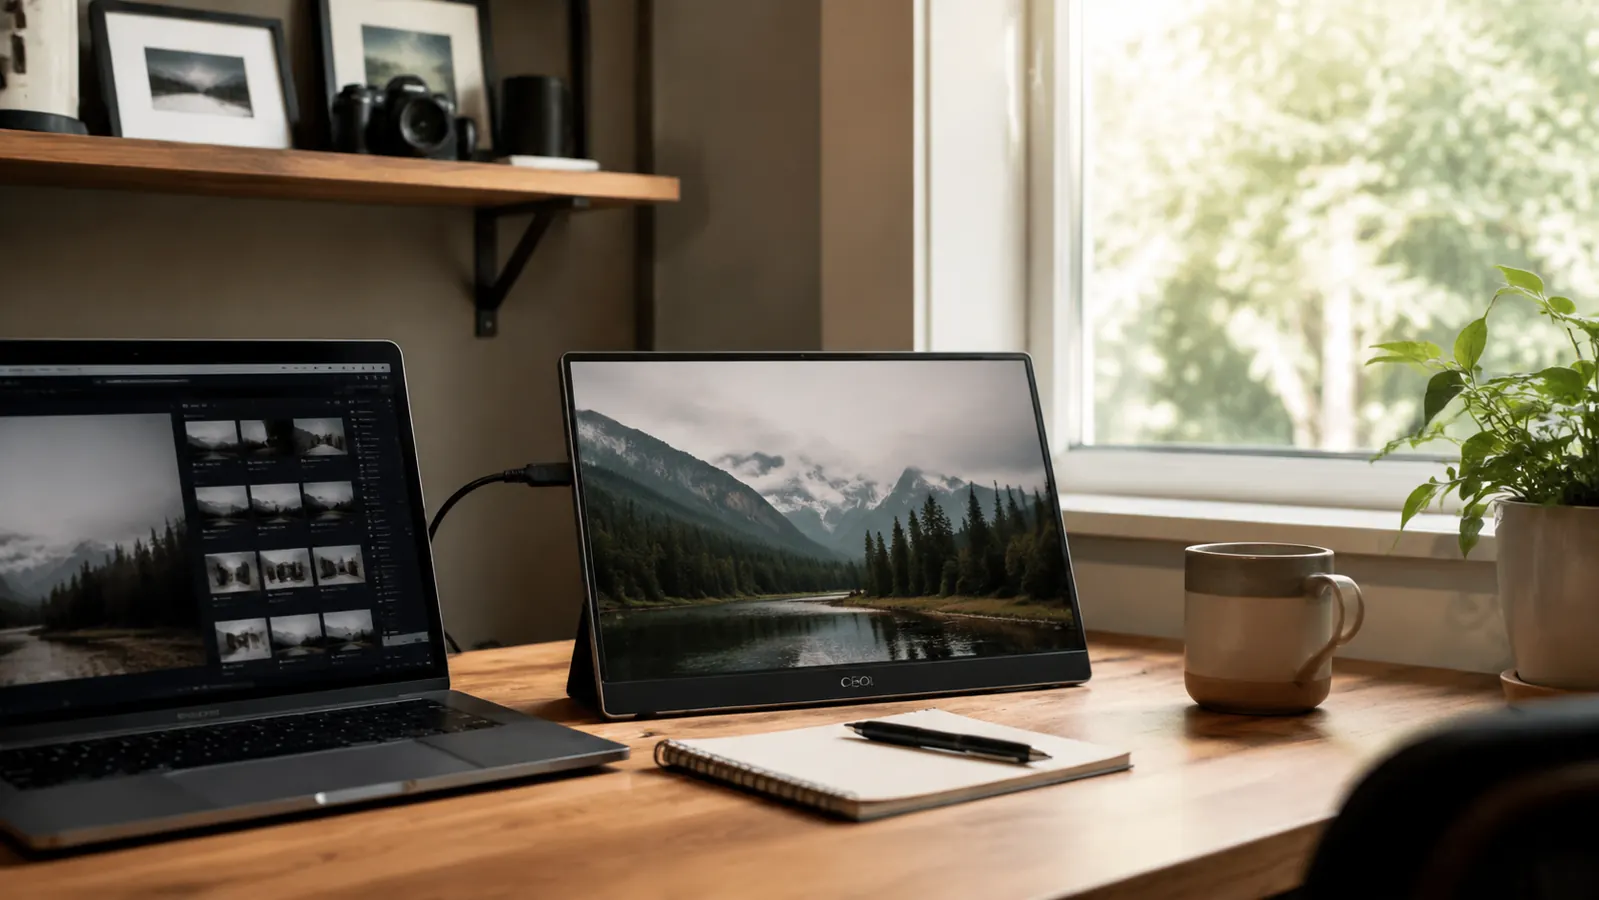
For about a year, my home office was one laptop screen and a lot of alt-tabbing. I'd have a lesson plan open in one window, a spreadsheet of grades in another, and a Zoom call I kept accidentally minimizing in the middle of both. It wasn't that I lacked the tools to work efficiently, it was that everything was stacked on top of everything else on a 14 inch screen. The fix ended up being smaller and simpler than I expected: a portable monitor, the KYY 15.6 inch 1080P USB-C display, that lives in a slim sleeve in my desk drawer and comes out whenever I need a real second screen.
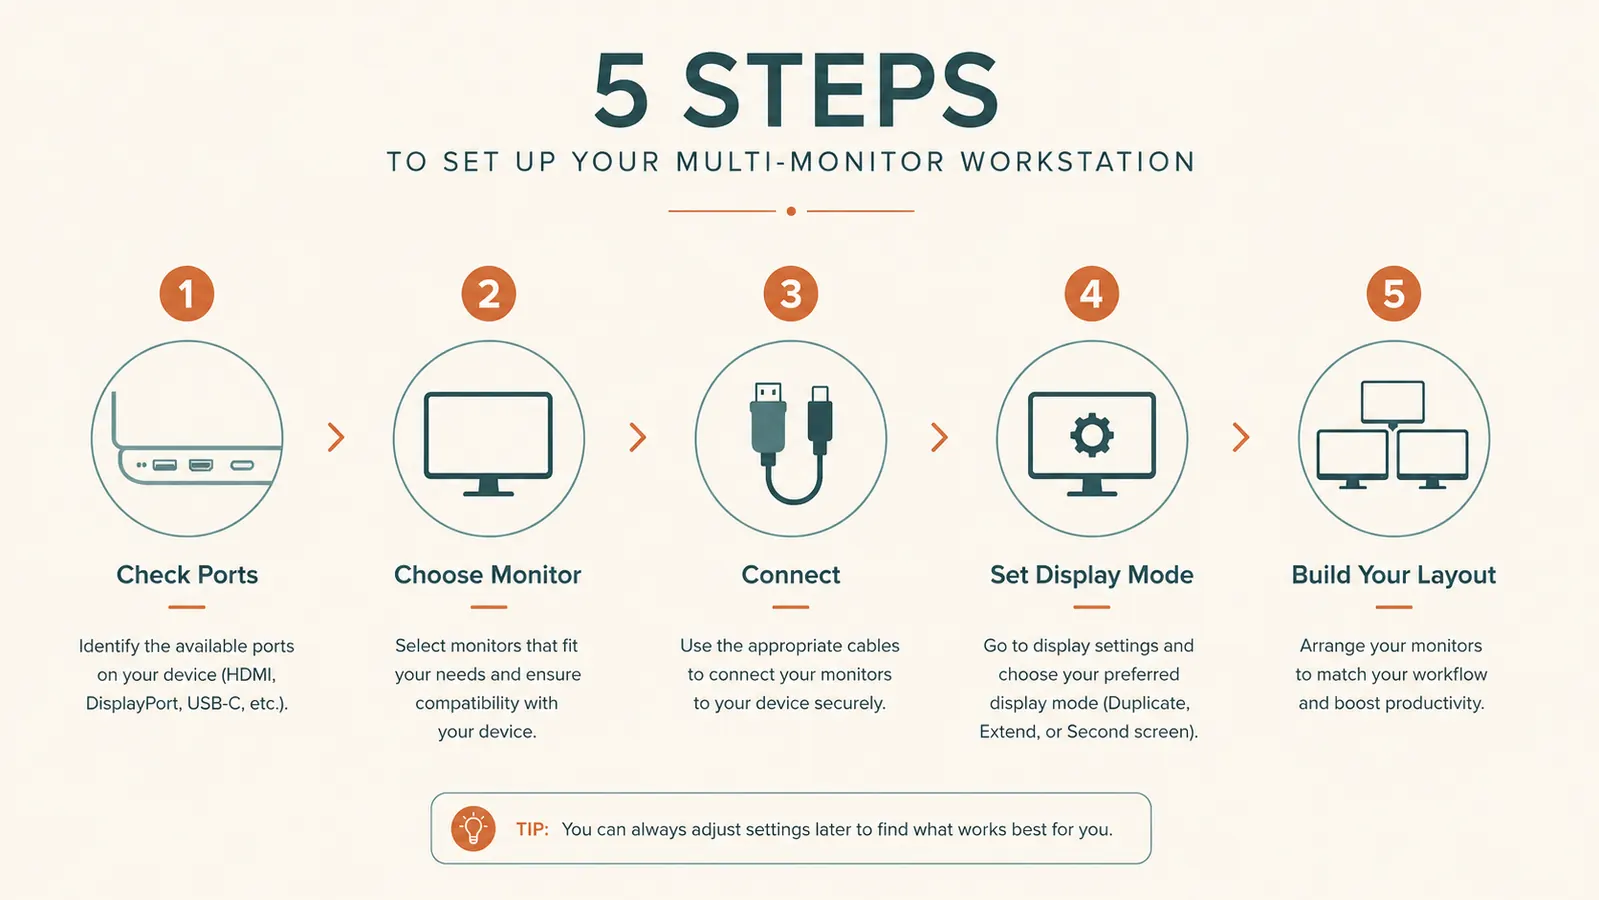
If you've been putting off a dual-monitor setup because you pictured a mounting arm, a drilled hole in your desk, or a second full-size monitor eating half your workspace, this guide is for you. A portable monitor solves the same problem in a footprint about the size of a hardcover book. Here's exactly how to go from one screen to two, in five steps, most of which take less time than making coffee.
I want to be upfront that this isn't a setup that requires any technical background. I'm not someone who tinkers with settings for fun, I just wanted my grading spreadsheet and my email to stop fighting for the same rectangle of screen. If that's you too, the steps below are written for exactly that level of patience.
Skip the guesswork and see the monitor that makes this whole setup possible
The KYY 15.6 inch portable monitor connects with a single USB-C cable in most setups, no external power brick required if your laptop supports it. It's the piece that makes the rest of these steps this easy.
Amazon Check Today's Price on Amazon →Step 1: Confirm Your Laptop Can Actually Drive a Second Screen
Before you buy anything, check what ports your laptop has. Most laptops made in the last five or six years, including budget Chromebooks and mid-range Windows machines, have at least one USB-C port that supports video output, sometimes labeled 'DisplayPort Alt Mode' or marked with a small monitor icon next to the port. If your laptop has that, you're set for the simplest version of this setup: one cable, video and power together.
If your laptop only has an older USB-C port that charges but doesn't carry video, or if you're on a machine with just HDMI and USB-A, that's fine too, it just means you'll run two cables instead of one, an HDMI cable for video and a separate USB cable for the monitor's power. I did this for the first three months with an older work laptop before upgrading, and it worked exactly the same, I just had one extra cord to manage.
A two-minute way to check: search your laptop's model number plus 'USB-C video output' before you buy a monitor. It saves you from ordering a cable-heavy setup you didn't plan for.
It's worth doing this check even if you're fairly confident about your laptop, because the labeling on ports isn't always consistent between brands. Two laptops that look nearly identical on the outside can have completely different port capabilities on the inside, and the only way to know for sure is to look up the exact model rather than guessing from the year you bought it.
Step 2: Choose a Monitor Sized for Where You Actually Work
Portable monitors range from about 13 inches up to 17, and the size matters more than people expect. Go too small and you're back to squinting. Go too big and it stops being portable in any meaningful sense, you won't want to carry it between rooms or slide it into a bag. I landed on the 15.6 inch KYY monitor because it matches my laptop's screen size closely enough that the two displays feel like one continuous desk, not a big screen next to a small one.
A few things worth checking before you commit: full 1080P resolution (not a downgraded 'HD ready' panel), an IPS panel so colors don't wash out when you glance at it from an angle while you're leaning back in your chair, and built-in speakers as a backup in case you're not wearing headphones during a call. The KYY monitor covers all three, plus it ships with a folding smart cover that doubles as a stand, so you're not hunting for a separate mount.
If you'll mostly use the second screen for reference material, like email, a chat window, or a document you're copying from, you don't need anything fancier than a solid 1080P panel. Save the 4K portable monitors for people editing photo or video, that resolution is wasted on a spreadsheet.
Weight matters too, more than I expected before I started using one daily. A 15.6 inch panel like this one weighs a bit under two pounds, light enough that carrying it between my desk and the kitchen table doesn't feel like a chore, and slim enough to fit in the same laptop sleeve pocket I already had.
Step 3: Connect It and Find the Right Angle
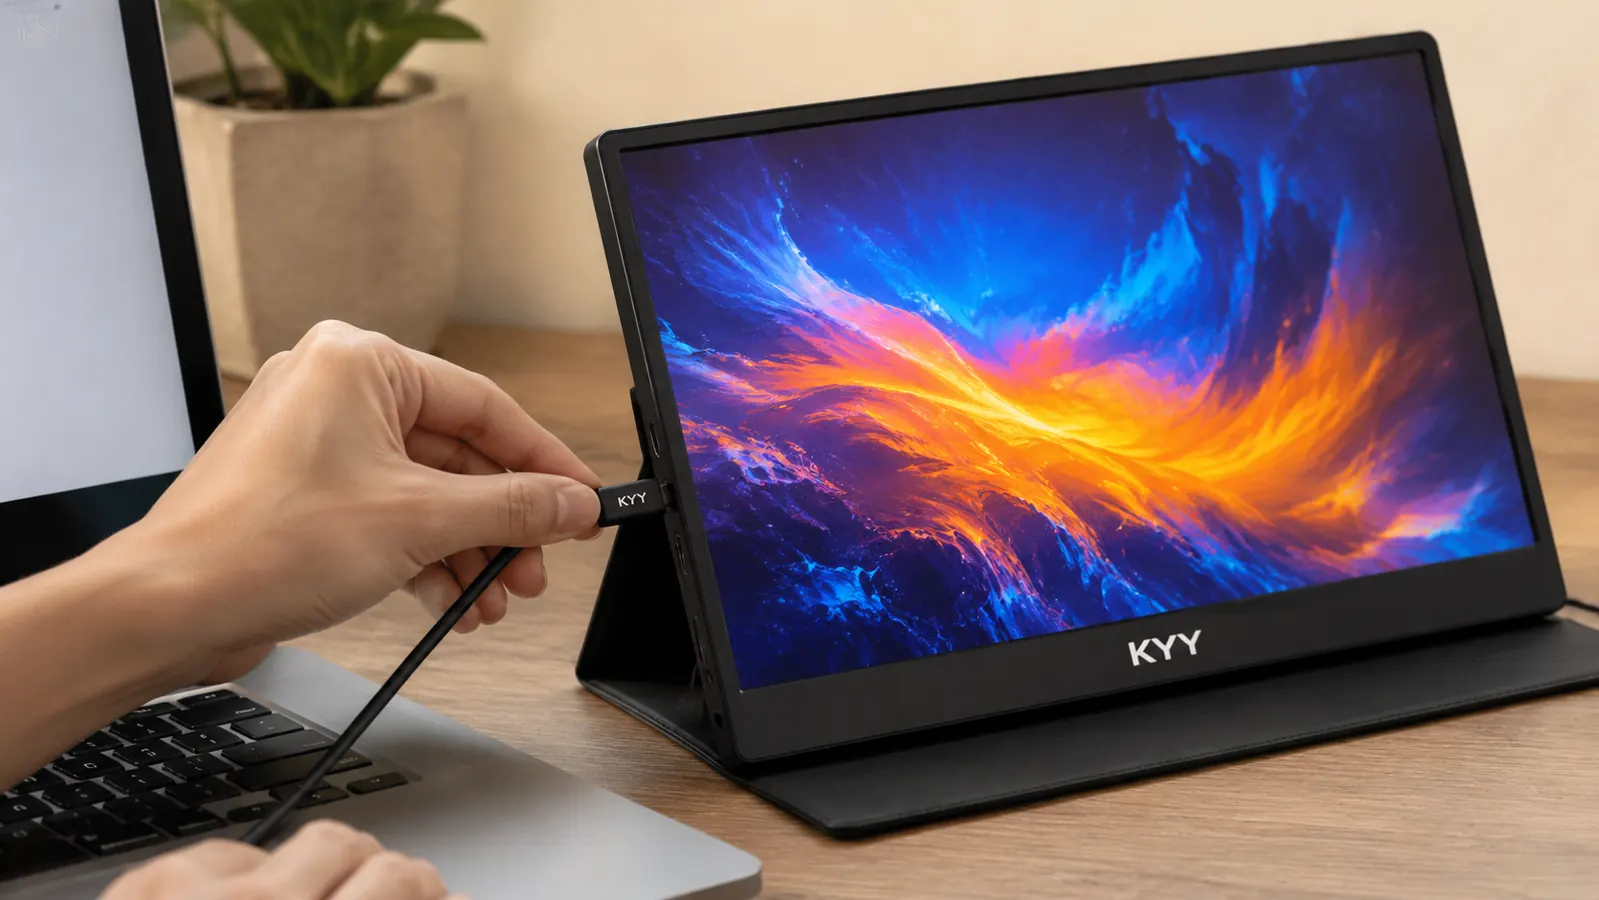
Once the monitor arrives, connection is genuinely the easy part. Plug the USB-C cable into your laptop's video-capable port and into the monitor, and within a few seconds the screen should light up, usually mirroring your laptop by default. Prop the monitor up using the folding cover or a small stand, and angle it so the top of the screen is roughly level with the top of your laptop screen. That small alignment detail matters more than it sounds, it's the difference between glancing sideways comfortably and craning your neck every ten minutes.
I keep mine positioned just to the right of my laptop, angled slightly inward, close enough that my eyes move rather than my whole head turning. Some days I flip it to the left if I'm right-handed and taking notes on paper at the same time. That flexibility, being able to reposition it in seconds, is the entire point of going portable instead of mounted.
If the picture doesn't appear right away, check that the cable is fully seated on both ends, and try the other USB-C port on your laptop if it has more than one. Occasionally a laptop's two ports are wired differently, one for charging only, one for both charging and video.
If your laptop only has a single USB-C port and you also need it for charging, a USB-C hub that passes both video and power through one connection solves that without adding a second monitor cable across your desk. It's a small addition, but it keeps the whole setup from feeling like a tangle of wires.
Step 4: Set the Display Mode That Actually Works for You
This is the step people skip, and it's the one that determines whether your new second screen feels useful or just confusing. On Windows, right-click the desktop, choose Display Settings, and look for the option that says 'Extend these displays.' That turns your portable monitor into genuinely new desktop space rather than a mirror of your laptop screen. On a Mac, open System Settings, go to Displays, and under Arrangement, uncheck 'Mirror Displays' if it's checked.
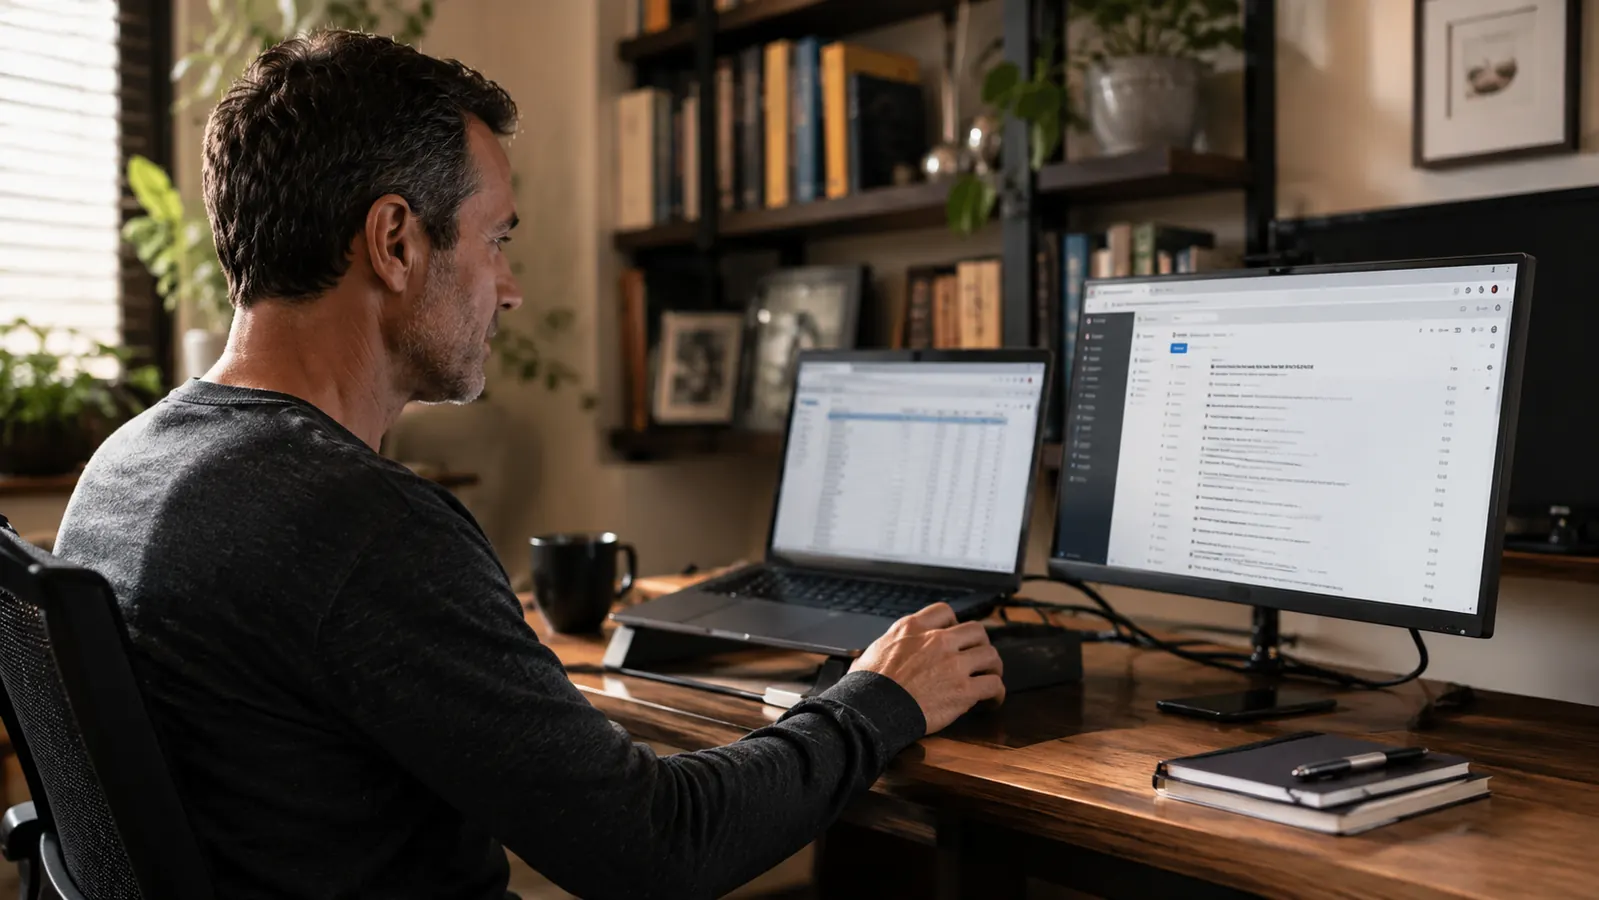
Once you're in extended mode, drag the monitor icons in the settings panel to match how they physically sit on your desk. If your portable monitor is on the right side of your laptop, the icon representing it should be on the right side of the settings diagram too. Skip this and your mouse will feel like it's teleporting when you move between screens.
From there, decide what lives where. I keep my primary working document, whatever I'm actively writing or editing, on my laptop screen, and I keep reference material, email, a shared calendar, or a video call, on the portable monitor. That split took about a week to become automatic, and now I genuinely notice the drag of working on a single screen when I'm at a coffee shop without it.
Most operating systems also let you snap windows to fill exactly half of either screen, which is worth setting up once and forgetting about. On Windows, dragging a window to the edge of a screen snaps it automatically. On a Mac, holding the green button in the top corner of a window brings up the same option. Once you've done it a few times, it becomes muscle memory.
Step 5: Build a Routine Around Having Two Screens
The setup itself takes fifteen minutes. The habit of actually using both screens well takes a bit longer. Start by picking one recurring task and assigning it a permanent home. For me, video calls always go on the portable monitor, centered, so I'm not staring off to one side during a meeting. My laptop screen stays for whatever I'm actively producing.
If you work from more than one spot in your house, the portability actually pays off here too. I move mine from my desk to the kitchen table during the after-school hours when I'm half-working and half-keeping an eye on homework, and it packs flat enough to slide into the same bag as my laptop. That's the real advantage over a fixed second monitor, it's not tied to one chair.
Give yourself about a week before judging whether the setup is working. Old habits like alt-tabbing between windows take a little time to unlearn, even after the hardware is sitting right in front of you.
One habit that made the biggest difference for me was starting each morning by opening the same three things in the same places, calendar and email on the portable screen, whatever I'm working on that day on the laptop. It sounds small, but a consistent layout means I'm not rebuilding my workspace from scratch every single morning.
What Else Helps
A couple of small things made this setup noticeably smoother without adding more gear to my desk. First, I keep the monitor's charging cable and video cable bundled together with a simple velcro tie so they never tangle in the drawer between uses. Second, I built a two-minute end-of-day routine, screen off, cover folded closed, cable coiled, so the whole thing is ready to grab the next morning instead of becoming a project every time I want to use it.
Glare is the other thing worth paying attention to. An IPS panel handles side angles well, but any glossy screen can pick up glare from an overhead light or a window behind you. I turned my desk about a quarter turn away from the window and it made a bigger difference than any setting change on the monitor itself. If you're setting up near a bright window, face the screen away from it rather than toward it.
None of this requires rearranging your whole desk or committing to a permanent setup. That's really the appeal of going this route instead of a traditional second monitor, you get the extra screen real estate on the days you need it, and a clear desk on the days you don't.
The extra screen didn't just give me more space, it gave me back the fifteen minutes a day I used to lose to alt-tabbing.
Ready to stop working out of one browser tab at a time?
The KYY 15.6 inch portable monitor is the exact model used in this walkthrough, IPS panel, full 1080P, one-cable USB-C setup for most laptops, and a folding cover that doubles as a stand.
Amazon Check Today's Price on Amazon →